

- お役立ち記事
- Prototyping a tabletop panel for menu display using acrylic bending: Tips for achieving clarity and strength at the same time

スタートアップから大手まで。
調達・受発注をAIで標準化。
相見積比較も進捗管理もAIが下支え。取引先は招待で完全無料。

Prototyping a tabletop panel for menu display using acrylic bending: Tips for achieving clarity and strength at the same time

目次
Understanding the Basics of Acrylic Bending
Acrylic, often referred to as plexiglass, is a versatile material used in various DIY projects and professional applications.
When it comes to prototyping a tabletop panel for menu displays, acrylic bending plays a crucial role.
Bending acrylic allows for creative and practical designs that can enhance the visibility and accessibility of menus.
The process involves heating the acrylic sheet until it becomes pliable.
Once softened, the sheet can be shaped or bent as desired.
The two common methods are heating with a strip heater or using an oven for larger pieces.
Selecting the Right Acrylic
Before starting your project, it’s important to select the appropriate type of acrylic.
Acrylic comes in various thicknesses and can be clear or colored.
For menu displays, clarity is key, so opt for clear acrylic to ensure the text and images on the menu are easily readable.
Additionally, consider the thickness of the acrylic sheet.
A thicker acrylic sheet will provide better support and durability, especially for a frequently used menu display.
Preparing for the Bending Process
Before beginning the bending process, make sure you have all the necessary tools and equipment.
You’ll need a heat source, such as a strip heater or oven, a workbench, and protective gear.
Ensure that your work area is clean and free from any materials that might interfere with the bending process.
It’s also a good idea to perform a few test bends on scrap pieces of acrylic to get a feel for the material.
Heating the Acrylic
Heating is the most crucial step in acrylic bending.
When using a strip heater, place the acrylic sheet above the heater at the point where you want the bend to occur.
Slowly heat the acrylic until it becomes flexible.
For larger panels, an oven might be more suitable.
Ensure the oven temperature is set according to the acrylic manufacturer’s guidelines, typically around 300°F (149°C).
Monitor the acrylic closely to avoid overheating or causing bubbles.
Bending the Acrylic
Once the acrylic is pliable, you can begin to shape it.
Carefully bend the acrylic over the edge of a workbench or use a mold for more precise shapes.
Work slowly and gently to avoid cracking the acrylic.
After achieving the desired shape, hold the acrylic in place until it cools and hardens.
This ensures that the bend retains its shape and stability.
Enhancing Clarity and Strength
Achieving both clarity and strength is essential for an effective menu display.
To enhance clarity, make sure the surface of the acrylic is clean and free from scratches or smudges.
Polishing the edges can also improve the overall appearance.
To ensure strength, double-check that the bends are even and consistent.
This will prevent any weak points that could compromise the structure.
If the design requires multiple bends, consider reinforcing the joints with acrylic adhesive or additional support materials.
Final Touches and Assembly
Once the acrylic has cooled and been shaped, it’s time to finalize your tabletop panel.
If your design includes additional features, such as slots for inserting menus or holders for promotional materials, ensure these elements are secure and functional.
Test the display by placing it in its intended location and viewing it from different angles to assess visibility and accessibility.
Make any adjustments as necessary to ensure the menu is prominently displayed and easy to read.
Conclusion
Prototyping a tabletop panel for menu displays using acrylic bending is both a creative and rewarding process.
By understanding the basics of acrylic bending, selecting the right materials, and carefully executing the process, you can create an attractive and durable display.
With a focus on clarity and strength, your menu display will not only be functional but also enhance the dining experience for customers.
Remember to take your time and practice on scrap pieces of acrylic to hone your skills before embarking on your final project.
この記事の理解を深める
無料ホワイトペーパーをプレゼント
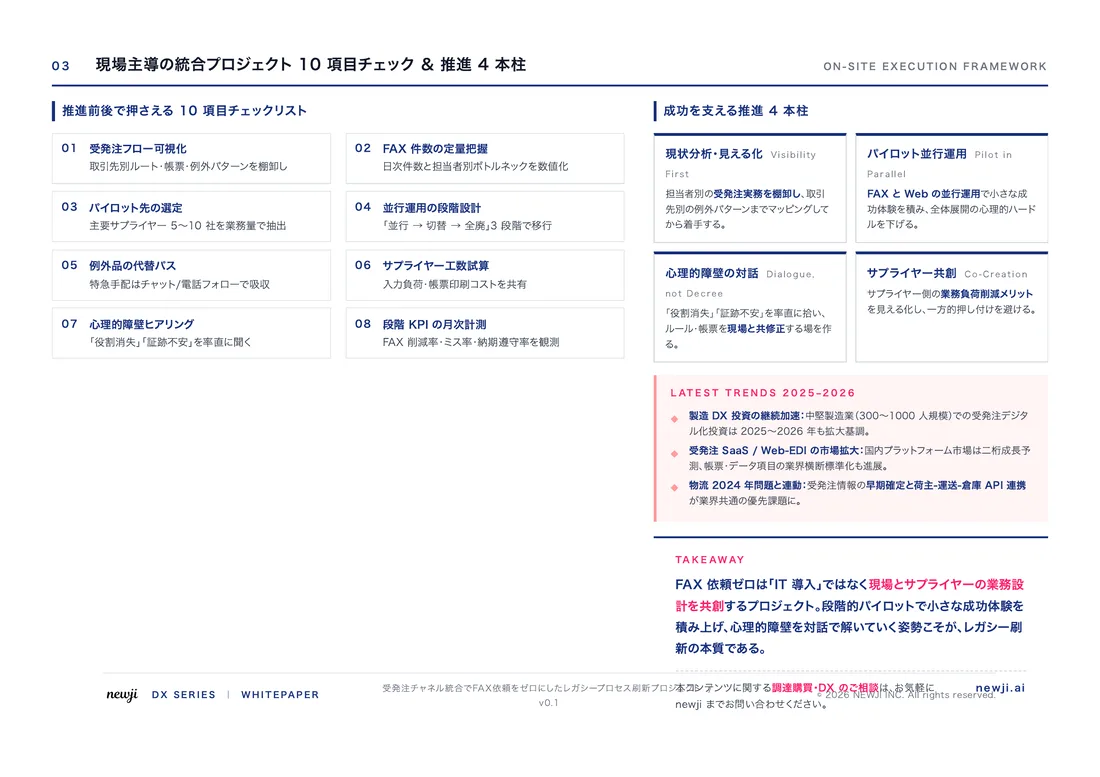
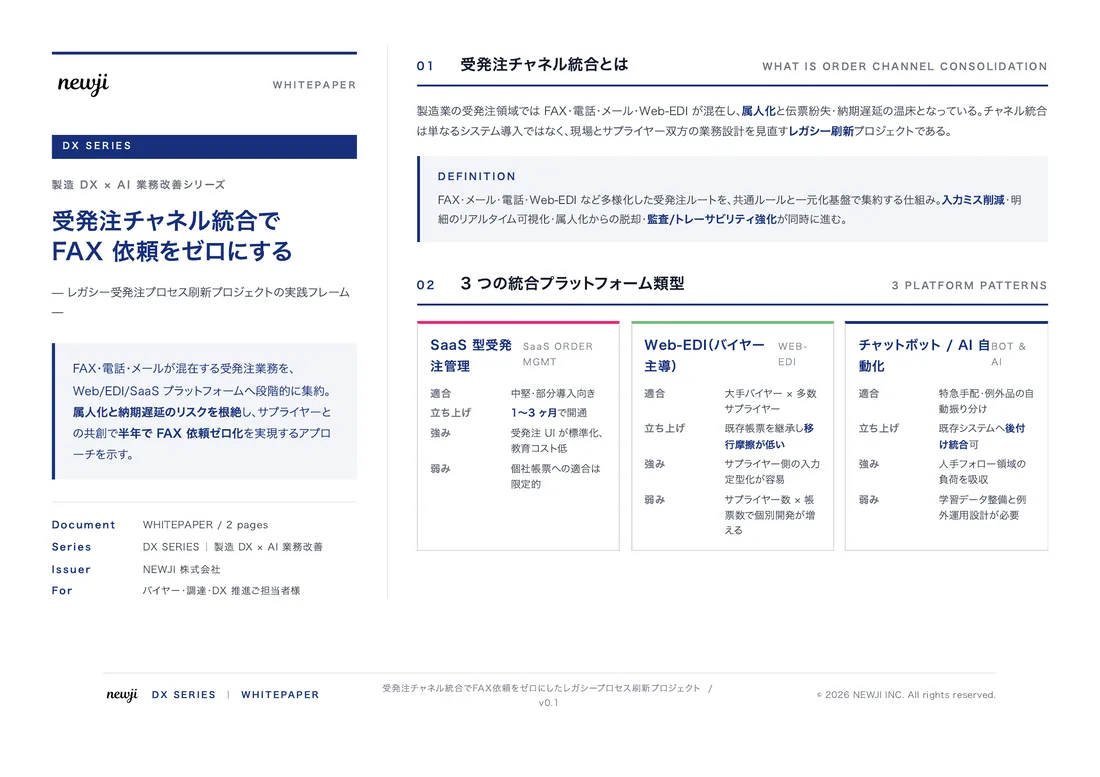
製造業の現場で使える実務資料(PDF)を無料でお届けします。"こんな資料が届きます" ↓ 下のボタンからどうぞ。
PRODUCT — 製造業向け 調達・受発注クラウド
この記事の課題、
newji で解決しませんか?
newji は、製造業の調達・受発注に特化したクラウド/AIエージェント。見積依頼・発注書作成・進捗管理・承認をひとつの画面に集約し、AIが比較と異常検知を担当。最後の「GO」だけ人が押す仕組みです。
- 見積〜発注〜納期を一元管理。催促・転記のムダをゼロに
- AIが相見積もり比較と異常検知。あなたは判断だけに集中
- 取引先は「招待」で完全無料。自社コストだけで取引先ごとデジタル化
※ 取引先から招待された企業様は完全無料でご利用いただけます



 調達購買アウトソーシング
 OEM/ODM 生産委託
 NEWJI DX
 受発注AIエージェント