

- お役立ち記事
- A project to prototype the keyboard part of an electronic dictionary using transparent acrylic and visualize the LED lighting inside.

スタートアップから大手まで。
調達・受発注をAIで標準化。
相見積比較も進捗管理もAIが下支え。取引先は招待で完全無料。

A project to prototype the keyboard part of an electronic dictionary using transparent acrylic and visualize the LED lighting inside.

目次
Introduction to the Project
Have you ever wondered how fascinating it would be to visualize the LED lighting inside an electronic dictionary’s keyboard?
This project involves prototyping the keyboard part of an electronic dictionary using transparent acrylic.
The goal is to create a stunning visual display by making the LED lights visible, offering both functional and aesthetic enhancements.
Materials Needed
To embark on this project, you will need several essential materials.
Firstly, transparent acrylic is crucial as it will form the main body of the keyboard.
This material will allow light to pass through, making the LEDs visible.
You’ll also need LED lights, preferably those with adjustable brightness and color options for more dynamic effects.
Additional materials include a microcontroller to manage the lighting sequences and patterns.
Some basic wiring and soldering tools are necessary to connect the components effectively.
It’s also helpful to have a design or drawing software to layout your keyboard’s layout digitally before cutting the acrylic.
Designing the Keyboard Layout
Designing the layout is the starting point of your project.
Using design software, map out where each key will be placed.
It’s essential to ensure the transparency of the acrylic doesn’t hinder the functionality of the keyboard.
Make sure there is ample space for the LED placements beneath the keys.
The layout should also consider ergonomic factors.
Key spacing and size need to be comfortable for users while maximizing visibility of the lighting.
A well-thought-out layout will aid in easy navigation and enhance user experience.
Creating the Acrylic Keyboard
Once your layout is finalized, the next step is cutting the transparent acrylic according to the design.
Using a laser cutter is ideal for precision and smooth edges.
Ensure each key section is properly aligned and matches the digital design.
After cutting, the keys and panels should be polished to eliminate sharp edges and imperfections.
This will enhance not only the aesthetics but also the handling comfort of the keyboard.
As a result, you’ll have a functional keyboard framework ready for LED integration.
Integrating the LED Lights
Once the acrylic structure is prepared, the exciting part begins: integrating the LED lights.
Plan out the placement of LEDs under each key to ensure even distribution of light.
Use adhesive LED strips or individual LED modules based on your design preference and availability.
The lighting can be powered directly by connecting the LEDs to a microcontroller.
This allows you to control the lighting patterns, brightness, and color.
Programming the microcontroller gives you creative freedom to experiment with various lighting sequences to make your keyboard more interactive and vibrant.
Programming the LED Effects
With the LEDs in place, the programming stage allows you to bring the keyboard to life.
Use simple coding languages like Python or Arduino Coding to develop scripts that control the lighting patterns.
Start with basic on-off patterns, and once comfortable, move to more complex sequences such as color transitions and pulsating effects.
Consider user interaction effects where lighting patterns respond to key presses.
This adds a layer of interactivity and a touch of personalization to the keyboard.
Keep the user interface in mind to ensure that it’s user-friendly and functional alongside aesthetic features.
Testing and Troubleshooting
After programming, thoroughly test the keyboard to ensure all LEDs are properly illuminated and respond to commands.
Check for dim lights, color inconsistencies, or non-responsive keys and rectify any wiring or software issues.
Troubleshooting might involve checking solder connections and reassessing the coding logic for any mismatches or errors.
Testing also involves ensuring the overall aesthetic appeal of the lighting.
The lighting should complement the design without causing glare or discomfort in different lighting environments.
Final Assembly and Usage
Once the LEDs are functioning perfectly, assemble all components securely.
Ensure that the acrylic and electronic components are neatly secured to avoid any movement or damage during use.
Your transparent acrylic keyboard is now ready for use and marvel at the vibrant light display it creates.
With the completion of this project, you’ve successfully prototyped a functional and visually captivating electronic dictionary keyboard.
This prototype not only serves as a practical tool but also as an artistic piece showcasing the beauty of technology.
Conclusion
This project combines creativity, technology, and functionality in creating a visually appealing electronic dictionary keyboard.
Working with transparent acrylic and LED lighting offers limitless possibilities for customization and expression.
It’s a testament to how design and technology can intersect to create memorable and impactful user experiences.
Whether for personal use or as an educational endeavor, this project serves as an excellent way to explore electronic prototyping and creative design.
By following these structured steps, you have the potential to innovate and inspire others with your electronic dictionary keyboard design.
この記事の理解を深める
無料ホワイトペーパーをプレゼント
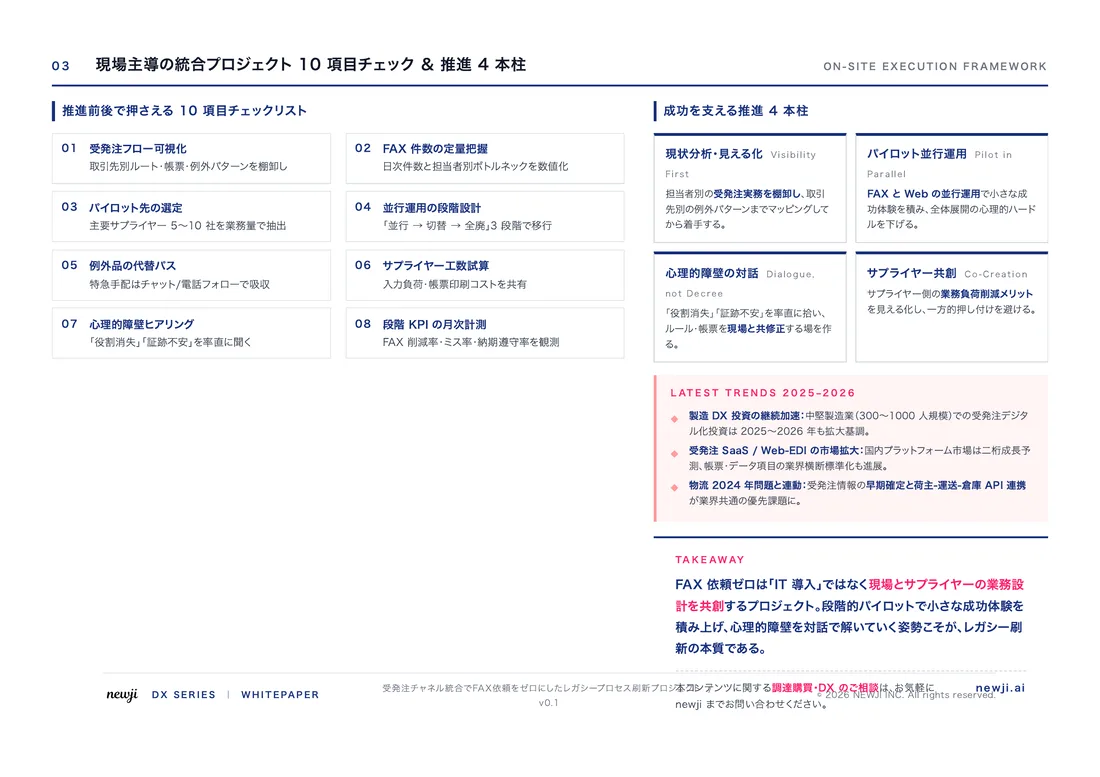
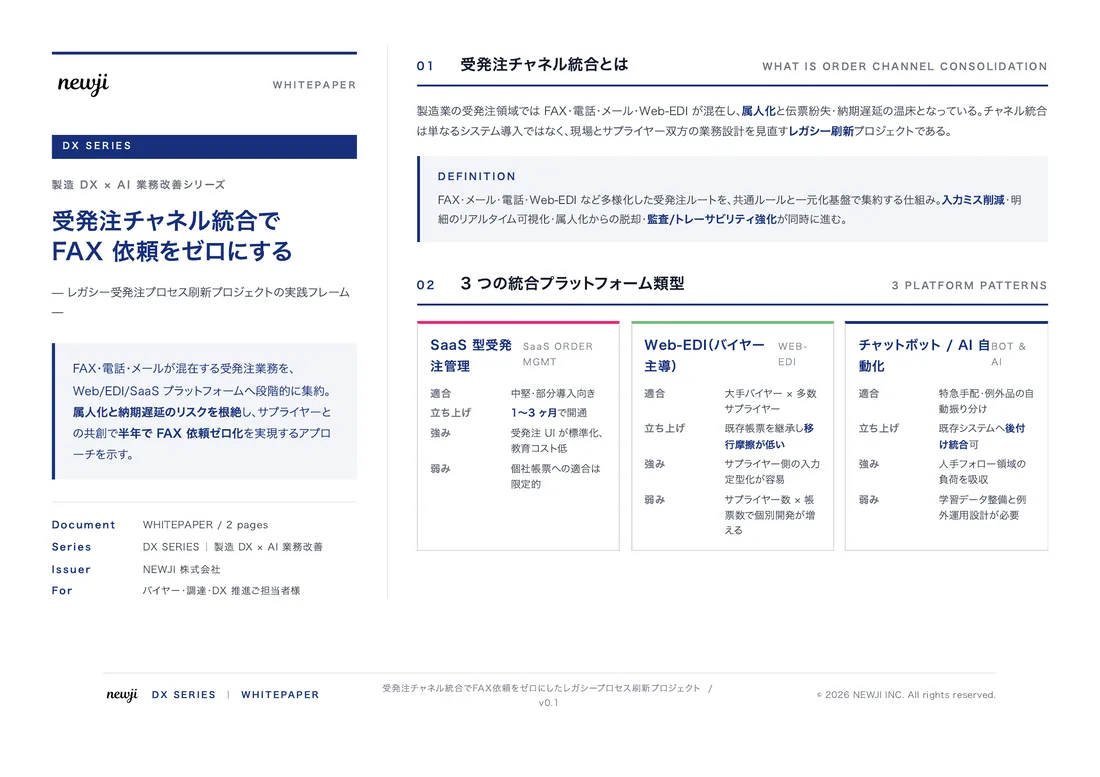
製造業の現場で使える実務資料(PDF)を無料でお届けします。"こんな資料が届きます" ↓ 下のボタンからどうぞ。
PRODUCT — 製造業向け 調達・受発注クラウド
この記事の課題、
newji で解決しませんか?
newji は、製造業の調達・受発注に特化したクラウド/AIエージェント。見積依頼・発注書作成・進捗管理・承認をひとつの画面に集約し、AIが比較と異常検知を担当。最後の「GO」だけ人が押す仕組みです。
- 見積〜発注〜納期を一元管理。催促・転記のムダをゼロに
- AIが相見積もり比較と異常検知。あなたは判断だけに集中
- 取引先は「招待」で完全無料。自社コストだけで取引先ごとデジタル化
※ 取引先から招待された企業様は完全無料でご利用いただけます
関連記事



 調達購買アウトソーシング
 OEM/ODM 生産委託
 NEWJI DX
 受発注AIエージェント