

- お役立ち記事
- Manufacturing Process of Wooden Birdhouses and Weather Resistance Enhancement

その単価は妥当か。
AI が根拠付きで分析。
相見積の比較も発注も進捗管理も、ひとつの画面に。

Manufacturing Process of Wooden Birdhouses and Weather Resistance Enhancement

Manufacturing a wooden birdhouse is a delightful project that not only enhances your woodworking skills but also provides a cozy shelter for birds in your backyard. Let’s dive into the steps involved in making a sturdy, weather-resistant wooden birdhouse that can stand up to the elements.
目次
Materials Needed for Building a Wooden Birdhouse
Before embarking on this project, gather all necessary materials. You will need:
– Wooden planks (cedar or pine are preferred)
– Nails or screws
– Wood glue
– Sandpaper
– Paint or wood finish
– Hinges (optional)
– Drill and drill bits
– Saw
– Safety goggles
Now, you’re ready to start building!
Step-by-Step Guide to Building a Wooden Birdhouse
1. Designing Your Birdhouse
Begin by designing your birdhouse on paper.
Decide the dimensions and shape based on the types of birds you want to attract.
Ensure there’s enough room for them to build their nests comfortably.
Standard birdhouses usually have a gabled roof and a simple rectangular or square box for the main structure.
2. Cutting the Wooden Pieces
Using a saw, cut the wooden planks according to your design.
You’ll need pieces for the front, back, sides, floor, and roof.
Be sure to wear safety goggles during this step to protect your eyes from sawdust.
Smooth any rough edges with sandpaper to ensure the pieces fit together snugly.
3. Assembling the Birdhouse
Start by attaching the sides to the back panel using wood glue and nails or screws.
Next, attach the floor, ensuring it’s securely in place.
Attach the front panel last, but remember to drill a hole for the bird entrance before attaching it.
The hole size will depend on the bird species you want to attract; typically, a diameter of 1.5 inches works well for small birds.
Finally, attach the roof. If you choose to make it detachable for easy cleaning, use hinges to secure it.
Applying Weather-Resistant Finishes
1. Sanding the Birdhouse
Thoroughly sand the entire birdhouse to make the surface smooth.
This step is crucial to help the finish adhere properly and ensure the birdhouse is safe for its inhabitants.
Pay attention to corners and edges to eliminate any splinters.
2. Choosing the Right Finish
Select a weather-resistant paint or wood stain meant for exterior use.
Non-toxic options are recommended to ensure the safety of the birds.
Water-based paints are a good choice as they are less harmful and dry quickly.
3. Applying the Finish
Apply an even coat of the paint or stain using a paintbrush.
Allow each coat to dry thoroughly before applying the next.
Usually, two to three coats are sufficient to protect the birdhouse from moisture and UV rays.
Ensure the birdhouse is completely dry before hanging it outside.
Additional Weather-Resistant Enhancements
1. Adding a Roof Overhang
Having an overhang on the roof will provide extra protection from rain.
This feature helps to keep the interior dry, extending the life of the birdhouse.
2. Sealing the Joints
Use a waterproof sealant on all joints and seams of the birdhouse.
This step helps prevent water from seeping into the crevices, reducing the risk of wood rot.
3. Elevating the Birdhouse
Always mount the birdhouse on a post or tree away from the ground to avoid excess moisture exposure and deter predators.
A height of 5-10 feet above the ground is usually ideal.
Maintenance Tips for Longevity
1. Regular Cleaning
Clean the birdhouse at the end of each nesting season.
Remove old nests and debris using a mild soap solution, then rinse thoroughly.
This practice prevents parasites and diseases, ensuring a clean home for the next inhabitants.
2. Re-apply Finish as Needed
Inspect the birdhouse annually and reapply the weather-resistant finish as needed.
This upkeep is critical for maintaining its protective barrier against the elements.
3. Monitor for Damage
Regularly check for damage such as cracks or loose parts.
Repair any issues promptly to prevent further deterioration.
In conclusion, creating a wooden birdhouse that is both beautiful and weather-resistant requires careful planning and execution.
By following these steps and tips, you can craft a birdhouse that will provide a safe and welcoming home for birds while standing up to the elements for years to come. Happy building!
この記事の理解を深める
無料ホワイトペーパーをプレゼント
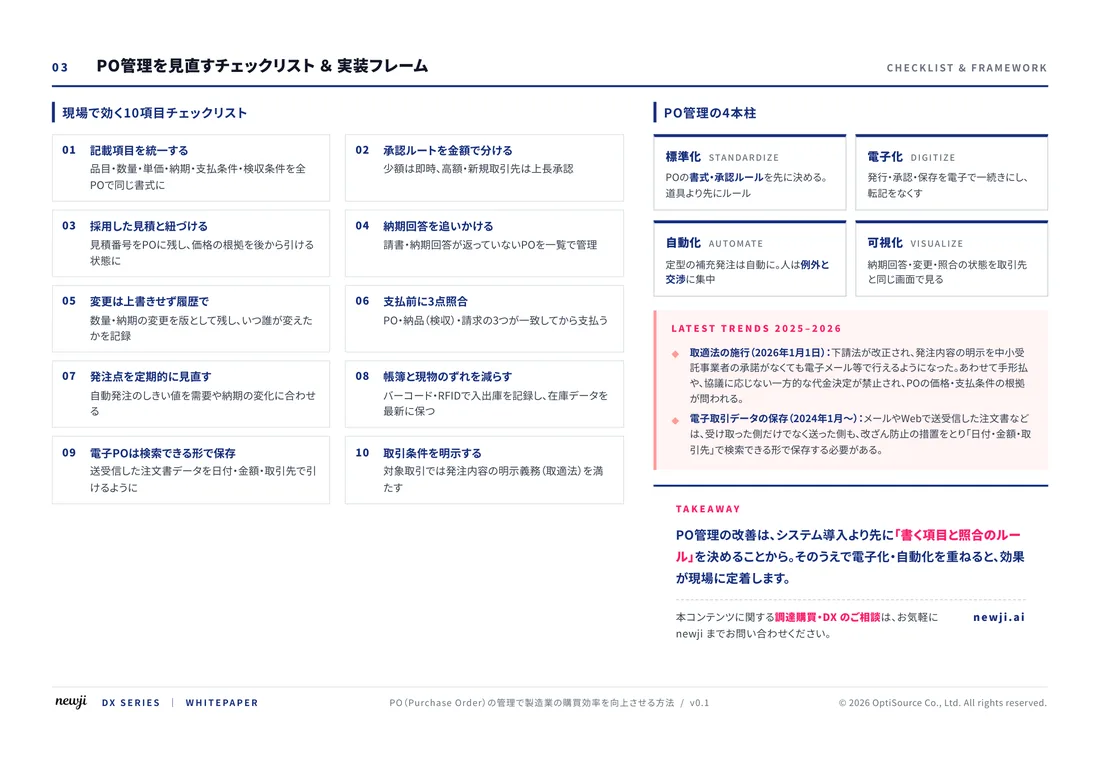
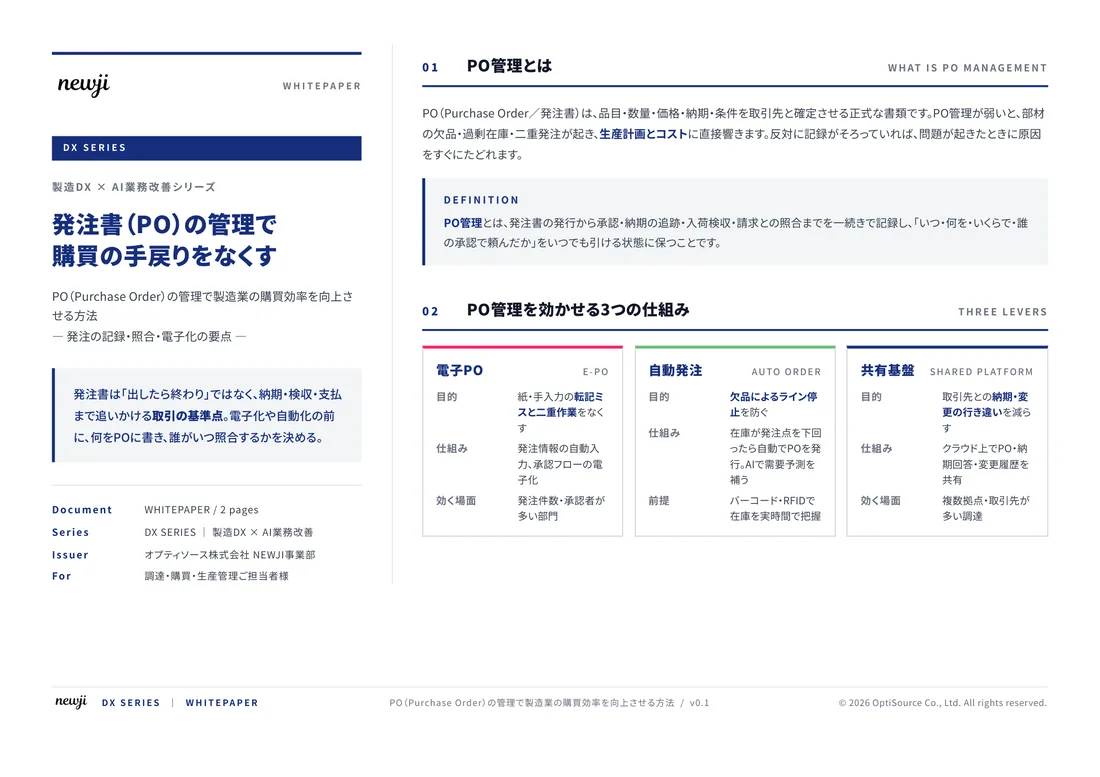
製造業の現場で使える実務資料(PDF)を無料でお届けします。"こんな資料が届きます" ↓ 下のボタンからどうぞ。
FREE DOCUMENT — サービス資料(PDF・無料)
製造業の見積・受発注クラウド
「Newji one」とは
Newji one は、製造業の調達・受発注に特化したクラウド/AIエージェント。見積依頼・発注書作成・進捗管理・承認をひとつの画面に集約し、AIが比較と異常検知を担当。最後の「GO」だけ人が押す仕組みです。
▶ 製造業の見積・受発注クラウド「Newji one」を、資料で見る(PDF・無料)
- 見積〜発注〜納期を一元管理。催促・転記のムダをゼロに
- AIが相見積もり比較と異常検知。あなたは判断だけに集中
- 取引先は「招待」で完全無料。自社コストだけで取引先ごとデジタル化
※ 取引先から招待された企業様は完全無料でご利用いただけます

 NEWJI総研
 OEM/ODM 生産委託
 AI/DX支援
 見積・発注クラウド Newji one
受発注が増えるほど、入力・確認・催促が重くなる。
受発注管理を“仕組み化“して、ミスと工数を削減しませんか。
見積・発注・納期まで一元管理できます。