

- お役立ち記事
- Image processing algorithm implementation OpenCV Machine learning application example Programming beginner’s guide

スタートアップから大手まで。
調達・受発注をAIで標準化。
相見積比較も進捗管理もAIが下支え。取引先は招待で完全無料。

Image processing algorithm implementation OpenCV Machine learning application example Programming beginner’s guide

目次
Introduction to Image Processing with OpenCV
Image processing is a crucial aspect of computer vision, a field that enables machines to interpret and understand visual information.
Through image processing, computers can analyze images to identify patterns, extract meaningful information, and make decisions based on their findings.
One of the most popular libraries for image processing is OpenCV, an open-source computer vision library that provides tools and techniques for image and video processing.
OpenCV is widely used in various applications, from simple image modifications to complex machine learning models.
In this guide, we’ll explore how to implement image processing algorithms using OpenCV and look into some machine learning applications.
Our focus is to create a beginner-friendly introduction to help new programmers understand and apply these concepts.
Getting Started with OpenCV
To begin using OpenCV, you need to install the library on your system.
OpenCV is compatible with various programming languages, but the most common and beginner-friendly is Python.
To install OpenCV in Python, use the following command in your terminal:
“`
pip install opencv-python
“`
Once installed, you can start working with images using a few lines of code.
Let’s begin with a simple example of reading and displaying an image using OpenCV.
“`python
import cv2
# Load an image from file
image = cv2.imread(‘path/to/your/image.jpg’)
# Display the image in a window
cv2.imshow(‘Image’, image)
# Wait for a key press and close the window
cv2.waitKey(0)
cv2.destroyAllWindows()
“`
Basic Image Processing Techniques
With OpenCV, you can perform a variety of basic image processing operations.
Let’s look at some of these techniques and how they can be implemented in your Python code.
Converting to Grayscale
One of the fundamental steps in image processing is converting a color image to grayscale.
Grayscale images are used in various algorithms that don’t require color for analysis.
“`python
# Convert image to grayscale
gray_image = cv2.cvtColor(image, cv2.COLOR_BGR2GRAY)
# Display the grayscale image
cv2.imshow(‘Grayscale Image’, gray_image)
cv2.waitKey(0)
cv2.destroyAllWindows()
“`
Image Resizing
Resizing images is a common preprocessing step, especially when feeding images into machine learning models that require uniform input sizes.
“`python
# Resize the image to a specified width and height
resized_image = cv2.resize(image, (width, height))
# Display the resized image
cv2.imshow(‘Resized Image’, resized_image)
cv2.waitKey(0)
cv2.destroyAllWindows()
“`
Edge Detection
Edge detection is critical for identifying boundaries within an image.
The Canny edge detection algorithm is widely used for this purpose.
“`python
# Apply Canny edge detection
edges = cv2.Canny(image, threshold1, threshold2)
# Display the edges
cv2.imshow(‘Edges’, edges)
cv2.waitKey(0)
cv2.destroyAllWindows()
“`
Introduction to Machine Learning with OpenCV
Machine learning enhances image processing by providing tools to analyze data and make predictions.
OpenCV, combined with machine learning libraries like TensorFlow and scikit-learn, can perform advanced image classification and object detection tasks.
Image Classification Using Pre-Trained Models
Image classification involves assigning labels to images based on their content.
OpenCV provides access to various pre-trained deep learning models for this purpose.
For instance, using the MobileNet model, you can classify images into thousands of categories.
Here’s a simple implementation to classify images using MobileNet and OpenCV:
“`python
# Load the pre-trained MobileNet model
net = cv2.dnn.readNetFromCaffe(‘mobilenet.prototxt’, ‘mobilenet.caffemodel’)
# Convert the image to a blob
blob = cv2.dnn.blobFromImage(image, 0.017, (224, 224), (127.5, 127.5, 127.5))
# Set the blob as input to the network
net.setInput(blob)
# Perform forward pass to get the classification result
output = net.forward()
# Display the classification result
print(“Predicted class is:”, output[0].argmax())
“`
Object Detection with OpenCV
Object detection involves identifying specific objects within an image.
OpenCV provides tools to use pre-trained models like YOLO (You Only Look Once) for real-time object detection.
Here’s a brief example of using YOLO with OpenCV:
“`python
# Load YOLO weights and configuration files
net = cv2.dnn.readNet(‘yolov3.weights’, ‘yolov3.cfg’)
# Load class labels
with open(‘coco.names’, ‘r’) as f:
classes = [line.strip() for line in f.readlines()]
# Convert the image to a blob
blob = cv2.dnn.blobFromImage(image, 0.00392, (416, 416), (0, 0, 0), True, crop=False)
# Set the blob as input to the network
net.setInput(blob)
# Get output layer names
layer_names = net.getUnconnectedOutLayersNames()
# Perform forward pass
outs = net.forward(layer_names)
# Analyze the output and draw bounding boxes
for out in outs:
for detection in out:
scores = detection[5:]
class_id = np.argmax(scores)
confidence = scores[class_id]
if confidence > 0.5:
# Calculate object location and draw a bounding box
center_x = int(detection[0] * width)
center_y = int(detection[1] * height)
w = int(detection[2] * width)
h = int(detection[3] * height)
# Draw box and label
cv2.rectangle(image, (center_x, center_y), (center_x + w, center_y + h), (0, 255, 0), 2)
cv2.putText(image, classes[class_id], (center_x, center_y), cv2.FONT_HERSHEY_SIMPLEX, 1, (255, 255, 255), 2)
# Display the image with detections
cv2.imshow(‘Object Detection’, image)
cv2.waitKey(0)
cv2.destroyAllWindows()
“`
Conclusion
Implementing image processing algorithms and applying machine learning techniques with OpenCV opens up a world of possibilities in computer vision.
While this guide provides a basic introduction, OpenCV’s capabilities are vast and can be explored further with practice and experimentation.
For beginners, it’s important to start with simple tasks and progressively move to more complex projects as you gain confidence.
OpenCV’s rich documentation and active community make it an excellent tool for both learning and professional work in image processing and computer vision.
この記事の理解を深める
無料ホワイトペーパーをプレゼント
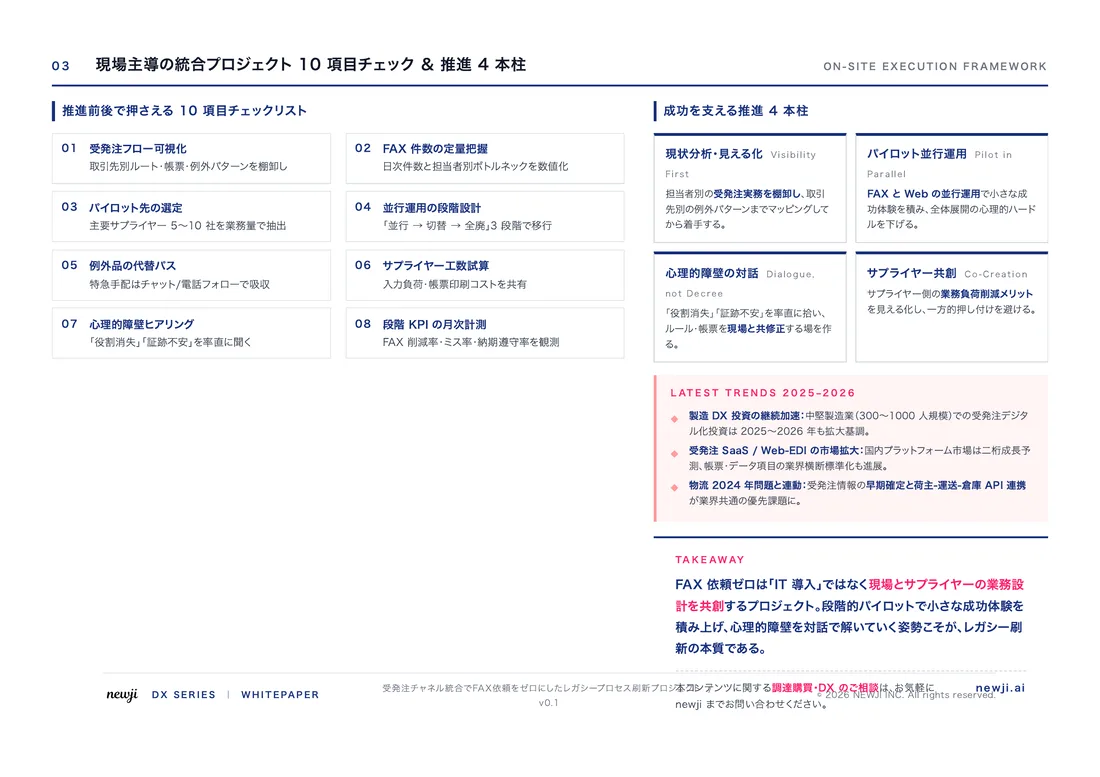
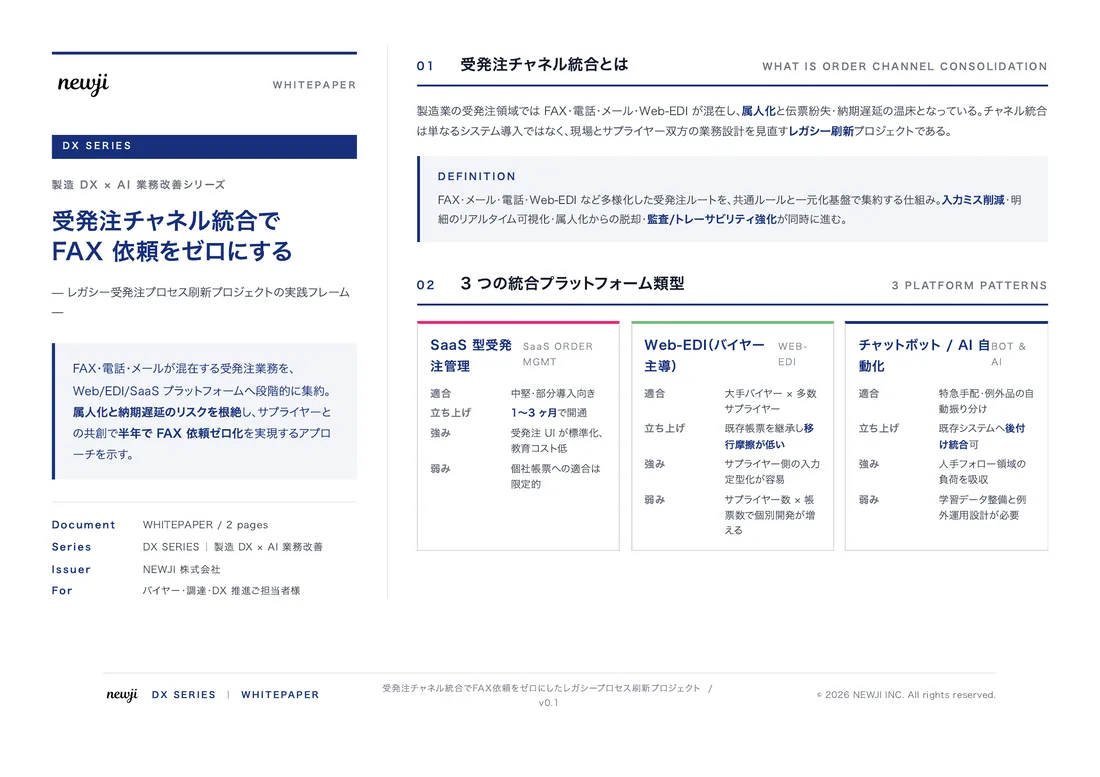
製造業の現場で使える実務資料(PDF)を無料でお届けします。"こんな資料が届きます" ↓ 下のボタンからどうぞ。
PRODUCT — 製造業向け 調達・受発注クラウド
この記事の課題、
newji で解決しませんか?
newji は、製造業の調達・受発注に特化したクラウド/AIエージェント。見積依頼・発注書作成・進捗管理・承認をひとつの画面に集約し、AIが比較と異常検知を担当。最後の「GO」だけ人が押す仕組みです。
- 見積〜発注〜納期を一元管理。催促・転記のムダをゼロに
- AIが相見積もり比較と異常検知。あなたは判断だけに集中
- 取引先は「招待」で完全無料。自社コストだけで取引先ごとデジタル化
※ 取引先から招待された企業様は完全無料でご利用いただけます


 調達購買アウトソーシング
 OEM/ODM 生産委託
 NEWJI DX
 受発注AIエージェント